Furrfoot Manors    Front of the Furrfoot Manors, by Apooka & Ozman. Coordinates: Yellow 1860.666S 1653.921E 0.11a 266


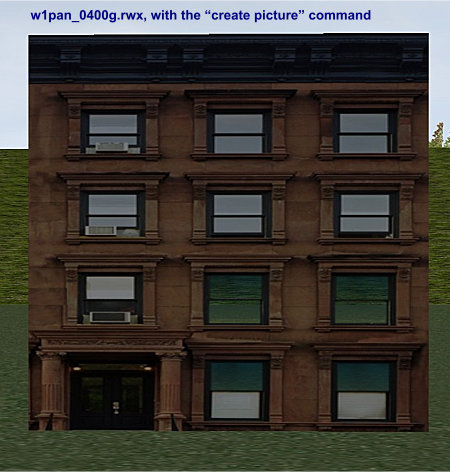
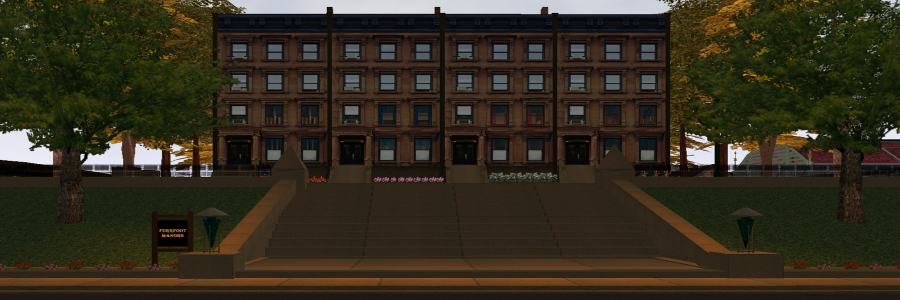
Using a picture on a 2D wall set

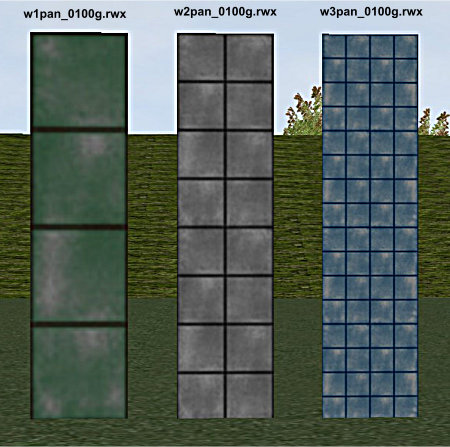
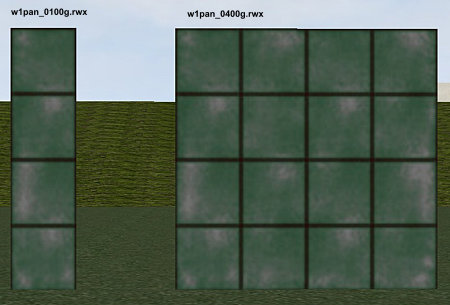
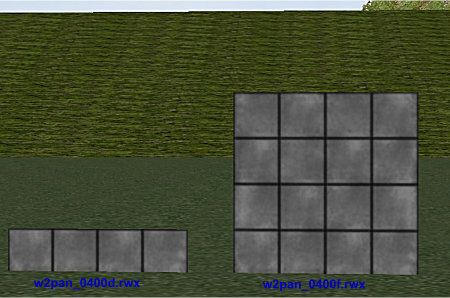
OK, this month it's back to that wall again. If you remember, we did a lot with the wall using standard commands like scale, move, animate, rotate, color tint and the use of textures. This time, we want to introduce the uses of remote pictures to really give some realistic impact on a build.


A 2D wall set explained, and using remote pictures on these in your builds

wall grids

To start off, we will introduce you to a 2D wall set. Note that the w(number)pan objects are a 2D wall set, and you can adjust this object to be of various sizes and with three different grids. The illustration on the left shows the three grids: w1pan_0100g.rwx, w2pan_0100g.rwx and w3pan_0100g.rwx. So you see that the number, between w and pan changes the size of the grid. Keep this mind when we go to put on a picture.

wall width

The next bit of the name after the 'w1pan_' will tell you the length of the object. So w1pan_0100g.rwx is roughly one metre wide, where as w1pan_0400g.rwx is 4 metres wide. The illustration shows this.

wall height

One more bit to consider. The letter at the end of the object name tells us the height of the object. The illustration shows the objects w2pan_0200d.rwx and w2pan_0200f.rwx.

This is a particular wall set that works in Yellow, and is available in AWSchool. Note also that there also a similar set for 'flats', such as flat1a_g.rwx; the objects in this set work in similar fashion to the w1pan set. There are other sets too; they are really good to use because they abut nicely and are very versatile in what you can do with them. One of the main aspect is that they can take remote pictures. Many of the 3D wall sets cannot do this.

picture on a wall

Now we are ready to select one of these objects to put a picture on. Let's try w1pan_0400g.rwx

In this case we want to put on a picture that Apooka has taken and has used for part of Steampunk City (see header). Now if we want to replicate some of that structure we can use the command create picture [URL of the picture], which will be entered into the Action text box on the Object Properties box. The picture on the left shows what this looks like.

If you wanted to make this picture work better, you can play with the parameters of the wall object (grid size, height and width), and you can even size it using the scale command. Then you can always use the color tint command to alter its look even more. The main thing to do is to experiment! Check out what you can do with a picture and see if it works for you.

As always, though there are things to be aware of. Really large pictures will take a fair while to download, and if you have a lot of them in one spot it can create a lot of lag for users, particularly those with slower computers or slow Internet speeds. And if you scale a picture up, you may well lose resolution, so be mindful of that as well.

We hope you found this useful; let Ozman know if you want anything explained more.

Do you have any questions on building?

Does anyone have any building questions they want answered or do you have some tips you want to share? Please telegram Ozman and also to give feedback on this article, particularly if there are any mistakes. And as always, be sure to check the AW Help page and the related AW wiki pages for further help.

For new builders, be sure to visit AWNewbie, and AWSchool worlds for very good tutorials, on-line help from qualified teachers, and lots of very good objects.